The grain, the pore, the relief
It starts from the sample or from a high-resolution image of the finish, not from a generic texture. It is what stops one oak looking like another.
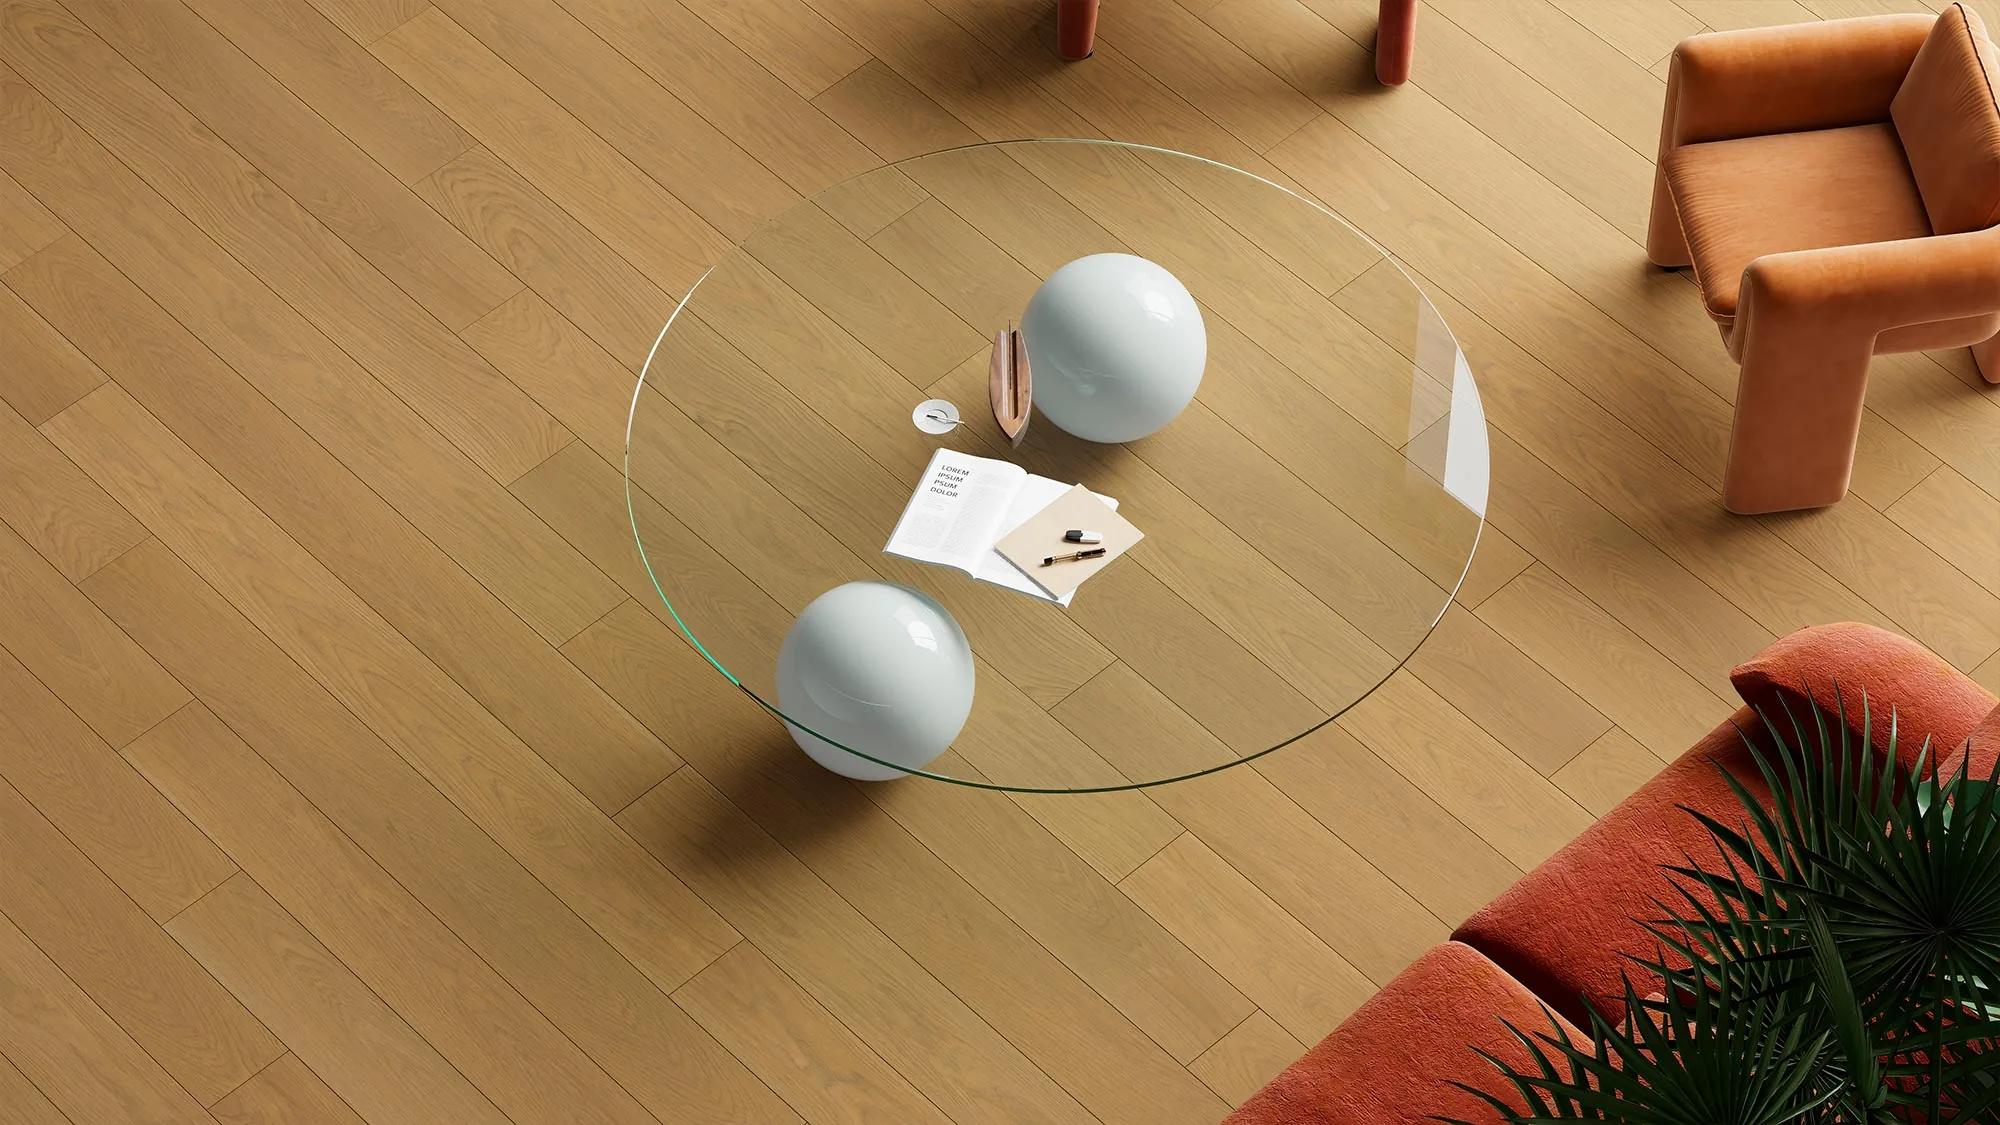
3D rendering of timber flooring and finishes is the photorealistic image of a floor, a ceramic, a board or a paint placed in a room, generated from a digital model. For a manufacturer or a distributor, what matters is that the texture is faithful, that the scale of the plank or tile is the real one, that the joints look as they do on site and that the same scene can be shown with many finishes. This guide explains how that is achieved and what you need to send.
A finish is bought for how it looks in a real room, not on a sample.
It starts from the sample or from a high-resolution image of the finish, not from a generic texture. It is what stops one oak looking like another.
A timber plank or a ceramic tile at its real dimensions. If the scale is wrong, the finish changes character even when the texture is good.
The width of the ceramic joint, the direction of the planks, straight, staggered or herringbone laying. It is part of the final image.
Each finish reacts to light differently. Careful lighting reveals the gloss and relief that define the material.
The floor is seen inside a setting with furniture and natural light, not on an empty plane. That way the customer can imagine the result.
An honest warning: colour on screen is never identical to the physical sample. That is why it is worth supplying the sample or the manufacturer's images as a reference and checking the first draft against it.
This is where a render beats photography, in a range with many references.
With photography, showing twenty timber finishes requires twenty floors installed. With a 3D model, the room is built once and the floor finish is changed while keeping the same camera, the same light and the same furniture. The customer makes a real comparison, because the only thing that changes is the material.
The same principle applies to ceramics, decorative boards and paint: one scene, one model, as many versions as your range has finishes. And when the customer wants to try them out themselves, the next step is a configurator.
Each family needs different data for the texture and the scale to be faithful.
| Family | What to send | What needs care |
|---|---|---|
| Timber flooring, laminate and vinyl | High-resolution images of each finish, plank dimensions and type of laying | Grain, tone and direction of the planks |
| Ceramics and tiles | Image of the design, available formats, joint width and laying patterns | Scale of the tile, joint and gloss |
| Boards and decors | Images of the decor, thicknesses and edges available | Texture and grain direction on each piece |
| Paint and wall coverings | Code or sample of each colour and type of finish (matt, satin) | Tone under light and surface reflection |
Finishes already modelled for the renders serve as the basis for a configurator.
The customer changes the floor finish in a room and sees the result. See the 3D flooring configurator.
Tiles, joints and combinations in a room. See the 3D ceramics configurator.
The catalogue of decors applied to a furniture model. See the 3D board decor configurator.
A product render starts from €1,400 and a 3D configurator from €4,760; the final price depends on the scope and is given in writing. Modelling of parts and finishes for a configurator is quoted separately, from €30 per part or finish. Details in 3D product render pricing and in the guide renders or 3D configurator.
Prices are on renders and 3D pricing and the full service on 3D product rendering.
It is a photorealistic image of a floor, a ceramic, a board or a paint placed in a room, generated from a 3D model. It is used to show each finish in a real setting without installing the floor or photographing it.
It starts from the sample or from a high-resolution image of the finish, the real scale of the plank and the laying pattern are respected, and the gloss and relief are adjusted to the light of the scene. It is worth checking the first draft against the physical sample, because colour on screen is never identical.
Yes. The scene is built once and only the floor finish is changed, keeping the same camera, light and furniture. It is the cleanest way to compare finishes and the one that saves the most compared with photography.
High-resolution images or samples of each finish, the dimensions of the plank or tile, the joint width, the type of laying and a reference for the setting. For paint, the code or sample of each colour and its type of finish.
When the range is so wide that images of everything cannot be made, or when you want the customer to try the finishes in their own room. Finishes already modelled for the renders serve as the basis for the configurator.
A product render starts from €1,400; the final price depends on the number of images and finishes, the complexity of the scene and the starting material, and it is given in writing. Details in 3D product render pricing.
To quote the rendering of your finishes, the samples or high-resolution images of each finish, the dimensions of the piece or plank, the type of joint and a reference for the setting where you want to show them are useful.
We reply in writing after reviewing the material, with the scope and the price. No obligation.
Would you rather talk it through? Call us on 662 061 421 or write to grup3d@grup3d.es.
What it includes and how it is produced.
Read →What the quote depends on.
Read →Timber, laminate and vinyl in the customer's room.
Read →Ceramic formats, laying patterns and finishes in 3D.
Read →The catalogue of decors applied to the furniture.
Read →